

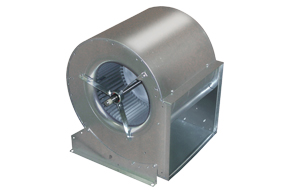


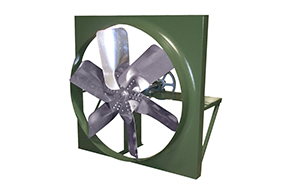
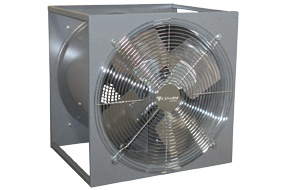
A: There are many reasons that a fan may not perform as expected. Before we look at these, we must first understand what acceptable performance entails.
AMCA Publication 200 states that a fan in a ventilation system should expect an airflow tolerance of +/-7.5% CFM. For example, a fan 1000 CFM fan should provide an airflow rate of 925 to 1075 CFM when properly installed. If the CFM is outside this range, it could be a result of variances in static pressure in the system or a mechanical problem with the fan.
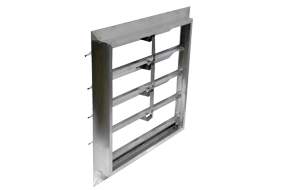
Common causes include:- Obstructions in the duct system such as closed registers, closed dampers, dirty filters or clogged coils.
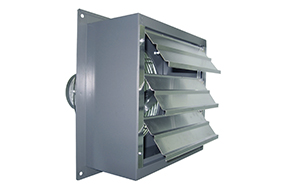
- Obstructions in the fan inlet such as elbows or walls too close to the inlet.
- Poor duct design such as improperly designed turning vanes, or leaks in supply or exhaust ducts.
- Underperforming fans caused by the fan speed set too low, a dirty or clogged wheel, the wheel installed or running backwards, or the clearances between the inlet cone and wheel cone are incorrect.
A: AMCA stands for Air Movement and Control Association International (AMCA). It is a not-for profit international association of the world’s manufacturers of fans, louvers, dampers, air curtains, air flow measurement devices, ducts, acoustic attenuators and other air system components. AMCA operates its own laboratories in Chicago and Singapore, and uses a licensed independent laboratory in Seoul Korea to test and certify the ratings and regulatory compliance of member and non-member products. AMCA develops industry related test standards for air movement and control products while independently certifying product performance to ensure reliable and accurate product performance. For more information about AMCA please visit amca.org
A: A sone is an internationally recognized measurement of loudness, or how loud a sound is perceived. A unit with double the sone value of another would be perceived as twice as noisy.
A: Static Pressure or hydrostatic pressure is the resistance to airflow (friction) caused by the air moving through a pipe, duct, hose, filter, hood slots, air control dampers or louvers. This resistance reduces the performance of the fan.
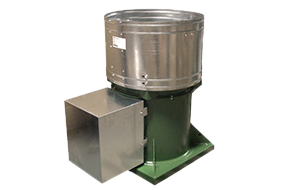
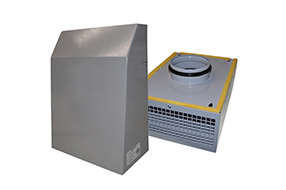
A: Yes! Canarm's Delair Fan Selection Software has a variety of tools to make choosing the right fan or blower easy. For more information, and to download Delair, click here.
A: Yes, many models can be ordered without motor and drives (pulley & belt).
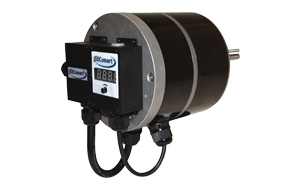
A: Motor manufaturers provide detailed wiring instructions on labels attached to the motor. The wiring diagrams are not in our user manuals because they cover multiple configurations which may use different motors.
Our OEM motors used on some of our products such as the SD Series standard fans and the AX Series shutter fans also have their motor lables listed on their respective product pages on our website.
For examples on how to use the motor labels, watch the videos here.
A: On the wiring diagrams, "Line" refers to your motor leads and "Insulate" refers to wires that are to be capped off with a wire nut or marrette. For more in depth examples, watch the videos below on understanding motor labels.
Understanding Motor Labels with Loose Wire Connections
Understanding Motor Labels with Terminal Post Connections
A: This typically means there is an electrical problem. If you do not hear a hum or other noises from the motor, try the following:
- Make sure the unit is properly locked out and that the power is disconnected.
- Check the fuses and circuit breakers.
- Check the wire connections to fan following the wire diagram attached to the motor.
- Check the wire connections to any switches or controllers.
A: Over time certain parts on a fan can become worn or loose and can cause unwanted noise. Worn parts usually need replacing, but loose hardware can be tightened. Try the following:
- Check that all screws, nuts and bolts are tight.
- Check to see if any wire nuts/marrettes in the wiring are rattling against the housing wall.
- Allow a 24 hour break in period for new fans.
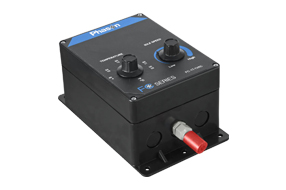
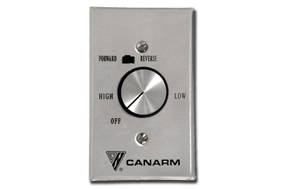
Note: If there is a humming sound this could be caused by the use of a solid state variable control. If this is the issue, try a different fan control. For a list of controls that Canarm offers, click here.
A: Excessive belt tension is the most frequent cause of bearing wear and resulting noise. Belt tensioning methods differ depending on the fan/blower series. The user manuals detail the tensioning methods for each series and can be found here or under the resources tab in the toolbar above.
A general rule of thumb is to have a 3/4” of deflection mid span under medium finger pressure (2-3 lbs) for every foot of span for proper belt tension.
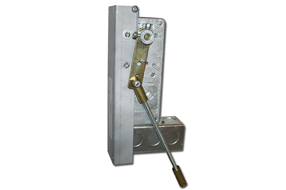
A: Proper pulley alignment is critical. Misaligned pulleys may cause fan vibration, noise and/or premature wear.
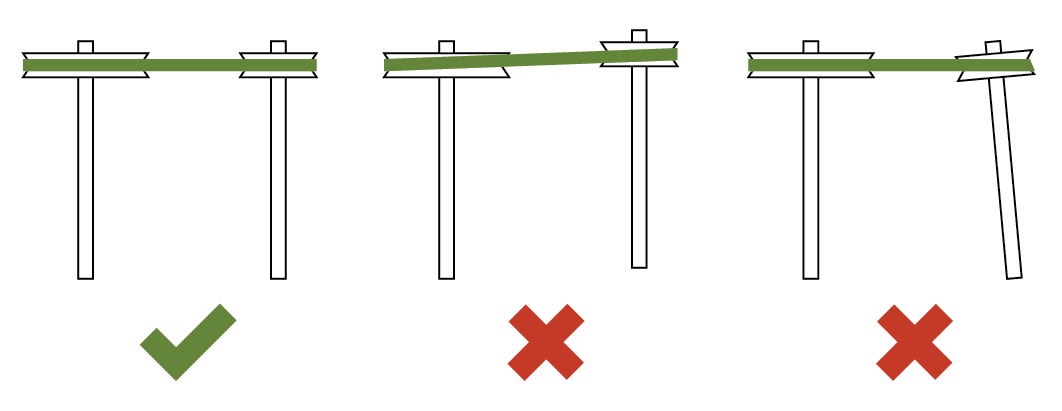
To align the pulley, adjust the position of the motor on the motor bracket or motor platform until correctly aligned as shown above. A straight edge across the face of the driven pulley should be parallel to the belt once proper alignment has been achieved.
Note: Adjustments to variable pitch pulleys require pulley re-alignment.
A: The drive pulley (motor pulley) is a variable pitch pulley. Adjusting the pitch diameter will change the speed of the blower within the adjustment range of the pulley. To adjust the pulley do the following:
- Make sure the unit is properly locked out and that the power is disconnected.
- Remove the fan belt. (See product user manuals which can be found here.)
- Loosen the set screw on the flat of the pulley.
- Rotate the top of the pulley as required to obtain the desired adjustment, stopping on the flat of the pulley.
- Tighten set screw, reinstall fan belt and adjust belt tension.
- Turn the fan on and check the motor full load amps to verify that the motor is not overloaded.
A: To replace a belt drive motor, first check the user manual for the motor. If you are unable to find instructions, follow these steps. Keep in mind that not all motors are the same and some instructions may not apply.
- Make sure the unit is properly locked out and that the power is disconnected.
- Remove the junction box cover on the motor and disconnect the wiring. Wiring diagrams can be found on the motor.
- Remove the fan belt. (See product user manuals which can be found here.)
- Loosen the motor pulley set screw, remove the key and pulley from the motor shaft.
- Remove the nuts and bolts holding the motor to the motor platform, or motor bracket, and remove the motor.
- Install the new motor to the motor platform or motor bracket.
- Reinstall the pulley and key, and align the pulley. (See how to align the pulley above.)
- Reconnect the motor wiring. Wiring diagrams are on the motor.
- Reinstall the belt and adjust the belt tension.
- Reconnect power to the motor and verify it is running correctly. If the motor is not running correctly, disconnect power before making further changes.
- Verify that the motor is running within the amperage range as shown on the motor nameplate using motor leads in the junction box.
- Reinstall the junction box cover.
- Reconnect power and verify that everything is in proper working order.