


Natural ventilation controls: Optimize set up for maximum efficiency
If you have taken the first step to invest in an automatic ventilation controller for your natural ventilation system, now you need to make sure your settings and sensor placements are optimized to give you the maximum benefit.
Placement
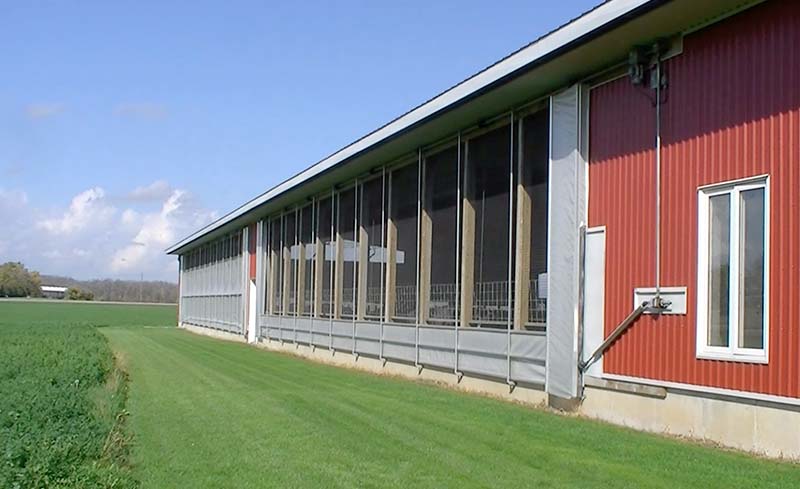
Your controller should operate each section of curtain with individual temperature sensors. This way, each curtain will be positioned according to the interior temperature in that area of the building. This will allow the system to adjust based on animal loading or exterior conditions, such as wind blowing into a particular opening. It is not uncommon in a building with four curtain sections to find each one in different positions while the interior temperature is consistent across all four sensors. This occurs most often in the spring and fall when outside conditions can be quite variable.
The other important factor to consider is the physical location of the temperature sensors. They should be positioned in the centre of each quadrant they control and dropped down so they are approximately 10 feet from the floor. If the sensor is too high, it can overreact when the curtain starts to open and the incoming air hits it directly. A better location would be someplace where the intake air stream has time to slow down and mix with the interior air before it encounters the sensor. If the sensor is positioned too low, it could become a tasty treat for your cattle or get caught up with moving equipment in the building.
Settings
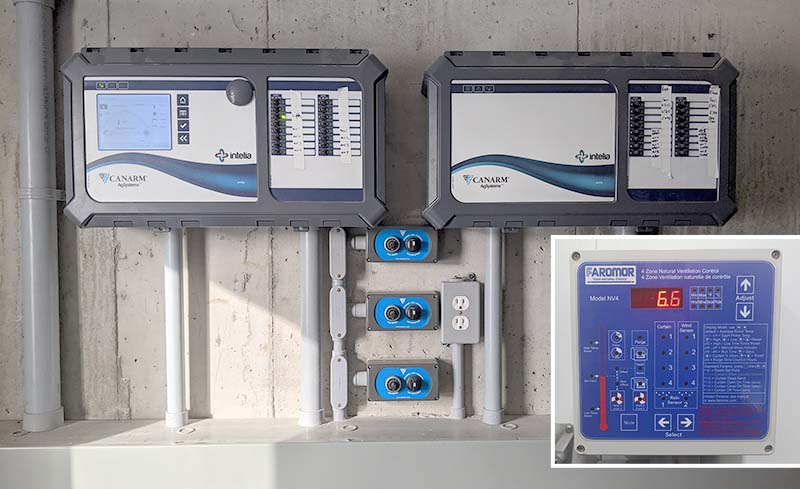
Once the temperature sensors are set up, the next step is to program the settings on your controller. All controllers come with factory settings that, for the most part, will be a good starting point. However, there are some basic considerations that should be addressed during the initial set-up.
There are different ways that natural ventilation controllers will operate the sidewall curtains, but the most common is with the use of a time cycle. With this method, once the temperature increases or decreases to the point the curtains need to adjust, the control will turn on the drive unit for a programmed length of time. This setting will vary depending on how fast your drive runs, but you should set it so your curtain moves no more than 2 inches when activated. The system will then pause for a specific length of time (usually this is set at two minutes), allowing the incoming air to circulate and the interior temperature to adjust. If, at the end of the pause time, the temperature setting is still not reached, the controller will cycle the curtain drive again, moving it another 2 inches.
Moving the curtain in small, timed steps prevents a large increase in intake air happening too quickly, which would cause an extreme temperature drop and force the curtain to close again. Without this timed approach, your curtain drive would be constantly running back and forth, leading to premature hardware failure. The goal is to achieve a position for each curtain section that can be maintained for as long as possible without further movement.
The primary setting in every controller is the temperature set point, or the interior temperature you are attempting to maintain within your facility. In addition to the set point, there will be a setting for a differential above and below it, at which the controller activates. In a typical dairy facility, it should not be a problem to allow the temperature to vary from 2 degrees above your set point to 2 degrees below it. If you set the differential too tight, the system will constantly be opening and closing in an attempt to keep the interior temperature within this small range.
Over a 12-month period, you will need to adjust your set point to match the outside conditions and to control temperature variations over 24 hours. For example, you might have your control set for an interior temperature of 3ºC (common in cold-weather conditions). Spring could bring about days where it is 5ºC in the morning, climbs to 15ºC during the day and then drops back down to 5ºC overnight. If you have not adjusted your set point since the winter, the curtains will have remained fully open during that time while the interior temperature fluctuated by 10 degrees throughout the day. This can cause health concerns with your animals.
To prevent this, as the days get warmer, increase your set point to eliminate most of this temperature swing. In the example above, if you move your set point to 10ºC, it greatly reduces the temperature variation within your building during the day. These types of adjustments are most important during the spring and fall when outside temperatures vary greatly throughout the day.
Some controllers on the market have the option of including a weather station that allows you to input additional settings depending on wind speed, wind direction and the presence of rain. Depending on the model and type you choose, there can also be relay features that can add to the controller’s available functions.
As with any kind of technology in your barn, it is always a good idea to have your ventilation company technician go over the original setup with you to ensure you get the most out of your investment. They will be able to advise you on optimal settings and, in some cases, be able to assist you remotely, keeping your software up-to-date with the latest improvements and features.

As seen in Oct 2021 edition of Progressive Dairy.
